Table of Contents
Introduction
Achieving high-quality prints consistently can be a challenge, especially for those new to the technology. One of the most important tools in a 3D printer enthusiast’s toolkit is the calibration cube. In this article, we will explore what a calibration cube is, why it is important, and how to use it to perfect your print settings and quality.
What is a Calibration Cube?
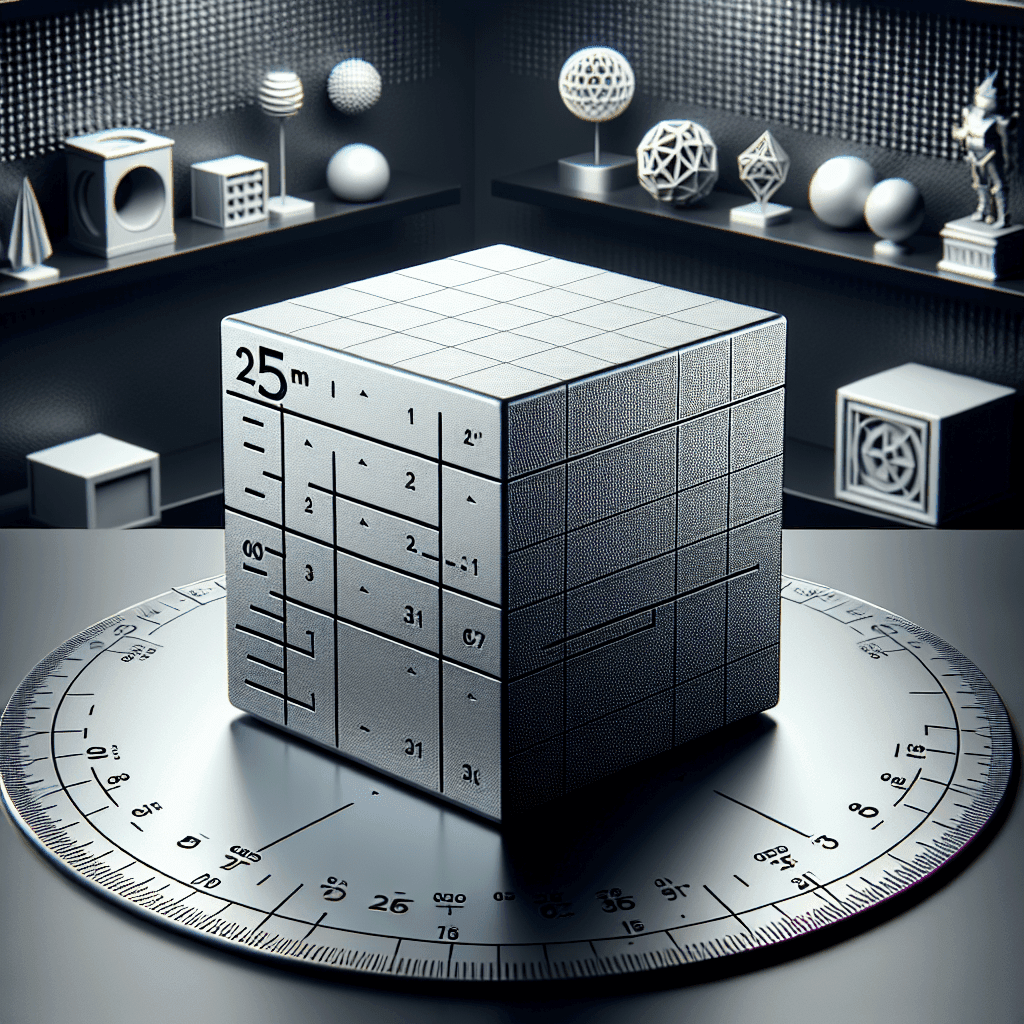
A calibration cube is a small, simple 3D model that is used to test and fine-tune the settings of a 3D printer. It is typically a cube with a side length of 20mm or 25mm, although the size can vary depending on the printer and the desired level of precision. The cube is designed to have features that can help identify common printing issues such as over-extrusion, under-extrusion, stringing, warping, and dimensional accuracy.
Why is Calibration Important?
Calibrating your 3D printer is essential to achieving high-quality prints consistently. Without proper calibration, prints may have issues such as poor layer adhesion, rough surfaces, warping, and dimensional inaccuracies. By using a calibration cube, you can identify and correct these issues before moving on to more complex prints.
How to Use a Calibration Cube
Using a calibration cube is a straightforward process that involves printing the model with different settings and analyzing the results. Here is a step-by-step guide to calibrating your printer using a calibration cube:
1. Download a calibration cube model: There are many calibration cube models available online that you can download for free. Choose one that suits your printer and desired level of precision.
2. Slice the model: Use slicing software such as Cura or Simplify3D to generate the G-code for the calibration cube. Make sure to adjust the settings such as layer height, infill density, print speed, and temperature according to your printer and filament specifications.
3. Print the cube: Start by printing the cube with your default settings. Once the print is complete, inspect the cube for any issues such as rough surfaces, gaps between layers, or warping.
4. Adjust the settings: Based on the results of the first print, make adjustments to the settings to address any issues that you identified. For example, if the cube has poor layer adhesion, you may need to increase the extrusion multiplier. If the cube is warping, you may need to adjust the bed temperature.
5. Repeat the process: Print the calibration cube again with the adjusted settings and compare the results with the previous print. Continue to iterate on the settings until you are satisfied with the print quality.
Conclusion
A calibration cube is a valuable tool for perfecting your 3D printer settings and achieving high-quality prints consistently. By following the steps outlined in this article and experimenting with different settings, you can optimize your printer for optimal performance. Remember to regularly calibrate your printer to maintain consistent results and troubleshoot any issues that may arise. Happy printing!
FAQs
How do I know if my calibration cube is successful?
A successful calibration cube should have smooth surfaces, crisp corners, and consistent layer adhesion. The dimensions of the cube should also be accurate, with each side measuring the intended length.
How often should I calibrate my printer?
It is recommended to calibrate your printer whenever you change filaments, nozzles, or other components that may affect the print quality. Additionally, regular calibration can help maintain consistent results over time.
Can I use a calibration cube for different types of printers?
While calibration cubes are designed to be generic and work with most printers, it is important to adjust the settings according to your specific printer and filament. Experiment with different settings to find the optimal configuration for your setup.
What other tools can I use for calibration besides a calibration cube?
In addition to a calibration cube, you can also use calibration objects such as calibration towers, bridges, and circles to test different aspects of your printer’s performance. These tools can help you fine-tune specific settings such as retraction, cooling, and overhangs.
