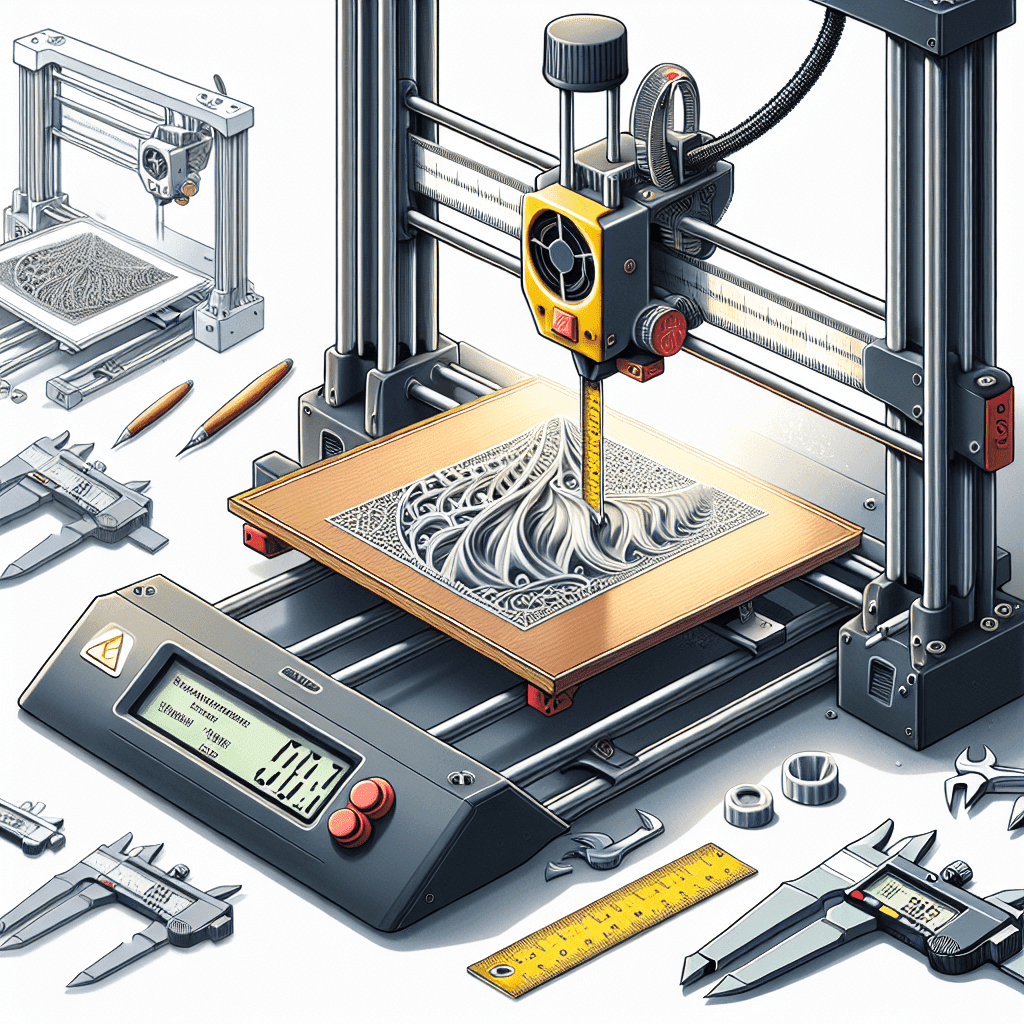
One of the key factors in achieving high-quality 3D prints is properly calibrating the layer height. Layer height refers to the thickness of each layer of plastic that is deposited by the 3D printer as it builds up the object layer by layer. The layer height you choose can have a significant impact on the overall quality of your prints, so it’s important to calibrate it correctly.
In this article, we will guide you through the process of calibrating the layer height on your 3D printer, from beginner to pro, so you can achieve perfect prints every time.
Understanding Layer Height
Before we dive into the calibration process, it’s important to understand the concept of layer height and how it affects your prints. The layer height is determined by the nozzle size of your 3D printer and the settings in your slicing software. A smaller layer height will result in finer details and smoother surfaces, but it will also take longer to print. A larger layer height will print faster, but the surface quality may suffer.
Most 3D printers allow you to choose a layer height anywhere from 0.1mm to 0.3mm, depending on the capabilities of your printer. It’s important to experiment with different layer heights to find the right balance between print quality and print speed for your specific application.
Calibrating the Layer Height
Now that you understand the importance of layer height, let’s walk through the process of calibrating it on your 3D printer.
1. Print a Calibration Test
The first step in calibrating the layer height is to print a calibration test. There are many calibration test models available online that you can download and print, such as the popular “3D Benchy” boat model. Choose a test model that has fine details and flat surfaces so you can easily see the differences in layer height.
2. Adjust the Layer Height
Once you have printed the calibration test, examine the results to determine the optimal layer height for your printer. Look for signs of over-extrusion (where the layers are too thick and bulging) or under-extrusion (where the layers are too thin and not sticking together). Adjust the layer height in your slicing software and print another test until you achieve the desired results.
3. Fine-tune the Settings
After you have found the optimal layer height for your printer, you can fine-tune the settings to further improve the print quality. Experiment with different print speeds, temperatures, and cooling settings to achieve the best results. Keep in mind that the optimal settings may vary depending on the type of filament you are using, so be prepared to make adjustments as needed.
4. Repeat the Process
Calibrating the layer height is an ongoing process, as different prints may require different settings. It’s important to regularly check and adjust the layer height to ensure consistent print quality. Keep a log of your settings and results so you can easily replicate successful prints in the future.
FAQs
Q: What is the best layer height for 3D printing?
A: The best layer height for 3D printing depends on the specific requirements of your project. In general, a layer height of 0.2mm is a good starting point for most prints, as it offers a good balance between print quality and print speed. However, you may need to adjust the layer height based on the size and complexity of the object you are printing.
Q: How do I know if my layer height is too high or too low?
A: If your layer height is too high, you may notice visible lines between each layer and a rough surface finish. If your layer height is too low, the layers may not adhere properly and the print may be prone to warping or delamination. Experiment with different layer heights and examine the results to find the optimal setting for your printer.
Q: Can I change the layer height during a print?
A: Most 3D printers do not allow you to change the layer height during a print, as this can disrupt the printing process and result in a failed print. It’s best to set the layer height before starting the print and monitor the progress to ensure the layers are adhering properly.
Q: How often should I calibrate the layer height on my 3D printer?
A: It’s a good idea to calibrate the layer height on your 3D printer whenever you change filaments, nozzles, or other settings that may affect the print quality. Regularly checking and adjusting the layer height will help you achieve consistent and high-quality prints.
In conclusion, mastering layer height calibration is essential for achieving perfect 3D prints. By following the steps outlined in this article and experimenting with different settings, you can fine-tune your prints to meet your specific requirements. Remember to regularly check and adjust the layer height to ensure consistent print quality and improve your overall 3D printing experience.
